I have been playing around with easter baskets lately and I thought I would share a pretty simple one I ended up liking a lot.
First I tried a round one with heavy weight interfacing…
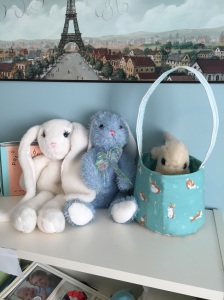
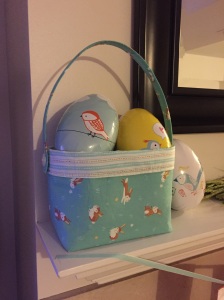
Next I tried a more rectangular shape with mid weight interfacing, it went pretty quick and I love how it turned out. It was going to be for my youngest but it looks to cute on the mantle to take down☺️
Here are my step by step rough directions:
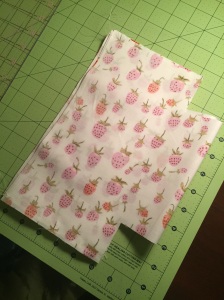
First cut fabric, I was making two baskets so I had 4 pieces of fabric for outside and lining, also you may cut interfacing at this time and iron to the fabric you want on the outside of the basket. You can see my measurements are roughly 14×10. After ironing interfacing fold in half lengthwise and cut the bottom corners out, 2×2 for a small basket like this will do (I actually stacked all four layers and cut them at once).
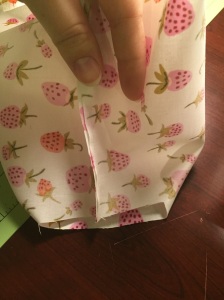
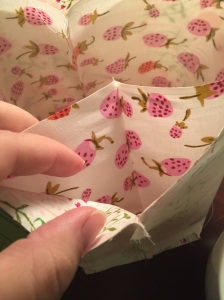
Next sew the sides together and fold the 2×2 square closed as shown. Repeat for second (inside) fabric.
Take your two fabrics and place one inside the other with right sides facing
Using pins or clips to hold in place, sew around top edge leaving a 2-3 inch hole for turning right side out.
Next stitch the hole closed and top stitch all the way around to give it a nice finished look. Fold down as far as you would like, to show off the pretty lining. I turned about one inch for these.
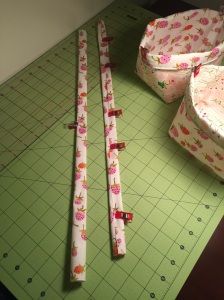
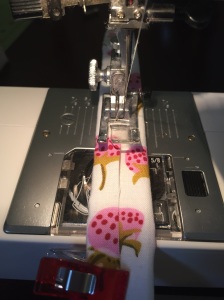
To make the handle I cut a piece of heavy stabilizer one inch by… I don’t remember how long I cut it!! I held it up to the basket to see just how long I wanted the handle to be. Next lay that piece on your fabric and wrap it so it’s completely covered. Cut the fabric and clip or pin to hold while you sew. I used a zigzag stitch so I didn’t need to fold the fabric under and it actually looked cute too.
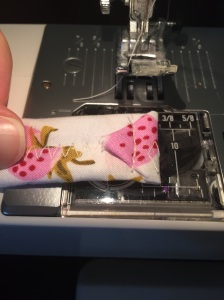
Fold the ends of the fabric in like you would when wrapping a gift and stitch back and forth to set your stitches.
Now clip handle into place on the outside of the basket and sew into place. Or you can use cute boutons and stitch those on to attach the handle like I did in my second blue bunny basket. Either way you are all finished and have a cute basket!
Thanks for stopping by Sarana Ave!



June 2, 2015 at 6:16 am |
I found your work on IG and them to this site. No I am not stalking you but noticed an illinois address on one of your projects. Are you by chance in the western suburbs? I am looking to connect with some fellow sewers in the area. I new to all of the on line communities and would live some help navigating. I am still a little shy about jumping in on IG.
Jennifer
June 2, 2015 at 7:10 am |
Jennifer, I’m so glad you reached out to me! I am pretty new to Instagram and have really been enjoying the community and encouragement! I met up with one girl yesterday and we had a great time!! Send me an email and I would love to talk more and answer any questions you have. Faithinchicago @ gmail.com
Have a great day!
Faith